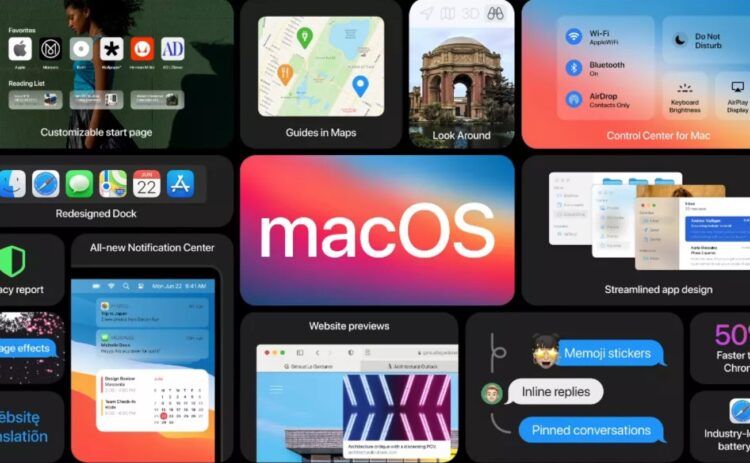
Big Sur, a new addition to the OS X family, has arrived. Many Mac users out there have been anticipating this event, only to find out that their devices lack free space to handle such a sizable download. No wonder, Apple’s requirements are 4GB of memory and 35.5GB of available storage on your device. Unfortunately, that’s a no-starter for some Mac users.
If Big Sur arrival has kept you on the edge of your seat, but you’re stuck with a “not enough space” issue, don’t despair. In our guide, you will find some fixes to make extra room for the big upgrade. Let’s dive in!
1. Clear trash in the bin
Emptying the trash is probably the first solution that comes to mind when you need to free up some space on a device. The quickest way to delete all the files is to remove them in one fell swoop. Here’s what you need to do:
- Right-click on the bin icon and choose Empty Bin.
- Open the Bin and click on Empty in the right top corner.
- From the Bin folder, right-click in any place and then Empty.
- From Finder – choose Empty Trash.
- Select file(s) and push Command + Option + Delete.
Removing your deleted files can work if it’s been a long time since you got around to the Bin. So, if that didn’t work, we have prepared more ways.
2. What’s in your Downloads folder?
Just like the Bin, the Downloads folder hosts plenty of unneeded files we tend to ignore. Those can be massive downloads like PDFs, photos, text documents, disk images, the list goes on. If you don’t purge Downloads regularly, it may take a toll on your device’s speed. Take your time to review the contents and delete the heftiest files in the first turn.
3. Remove apps you don’t use
Sticking to apps you never open may cost you several gigabytes of storage. There’s simply no use keeping them around. Yet, chances are, you need all the apps you have. There’s a simple trick you can play for such cases – remove an app and reinstall it after upgrading. Big Sur is a space-consuming application, but it won’t take up all your space in the end. After the installation, most of its space will be cleared. How to remove unwanted apps quickly?
- Go to Manage Storage and open Applications.
- Find apps that consume the most space. They usually top the list of apps.
- Delete apps you don’t need but be careful with system apps.
4. Dive into Manage Storage
That’s probably the most useful feature that helps you save space on your Mac. It basically offers a list of recommendations you can follow to expand the device’s space. It includes the following items:
- Store in iCloud;
- Optimize Storage;
- Set up Empty Trash automatically;
- Reduce Clutter.
Storage optimization lets you automatically remove everything you have already watched and seen, like movies and old email attachments. You can try it out and see that it’s probably your old files that cause a lack of space. Now, let’s see what else you can do.
5. Do away with clutter (finally)
Your old files can steal a lot of free space, preventing you from enjoying Big Sur. The Reduce Clutter option can be a lot of help here. It allows you to have a good look at hefty files you should have said goodbye to a long time ago.
Bring up the Manage Storage window and click on Review Files. Here you go – a list of files, including large files, downloads, and browser files. Preview the files and ax ones you don’t need.
6. Keep your files in iCloud
iCloud storage lets you store and access your files quickly without taking up all the space on your machine. If you own a subscription to iCloud storage, why keep them there? Upload them to the virtual storage, leaving only optimized and newly created files on your device.
If you have lots of photos, you will definitely appreciate the iCloud Photo Library. Instead of relying on a single machine to store hoards of images, it allows you to access them from any device. You can enable this option via Manage Storage – Store in iCloud section or using your Photo app by opening Preferences. Then, put a tick near iCloud Photos and choose Optimise Mac Storage.
Importantly, removing photos from your Mac may wipe them in the iCloud. It’s because iCloud rather mirrors the files you have on your Mac (storing their high-resolution versions) than backs them up. To free up space, you should get rid of the low-resolution versions kept on your Mac. They may be unnecessary, just lying there and hogging space. To do this, follow the next steps:
- Go to Manage Storage and click on iCloud Drive.
- Open Apple ID Preferences.
- Remove the tick next to Apps that use iCloud.
- Hit Delete from Mac and Confirm
And that is how you remove the low-resolution copies of pics and videos from your device. Still not enough space?

7. Remove Mail attachments
Do you receive lots of emails with attachments? You may be surprised, but your Mac downloads them straight to your machine, which clogs the space over time. Deleting them will help you win back a big chunk of free space.
What if you’re not ready to remove them altogether? Don’t worry. The method described here only concerns attachments downloaded by the system automatically for caching purposes. The removal process won’t affect files you have manually downloaded and saved from Mail.
To remove your unneeded attachments, Open Finder and type Mail Downloads. Then you will see a folder containing all of your Mail attachments. You can click on it to find out how much space it is taking. Then, open the folder, select the folders it contains and delete them.
Wrapping up
To free up space for Big Sur, you need to do the spring cleaning of your system. Steps include:
- Emptying the Bin.
- Removing unneeded files from Downloads and desktop.
- Deleting apps you never use.
- Moving hefty files to iCloud.
- Deleting email attachments you’ve amassed over the years.
Best of luck with the installation! Hope you enjoy Big Sur as much as we do.

